How to Install Drip Irrigation
Create an automatic watering system that ensures your outdoor plants get their fill by installing a drip irrigation line.
by Alexandra Bandon Updated 07/29/2024

Project details
Skill
1 out of 5 Easy Takes no more skill than it does to water the plants with a hose
DIY cost *
$50 to $100 per 100 square feet
Estimated Time
*Costs in this article sourced from Angi.
Tools & Materials
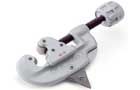
Tubing cutter
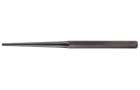
Hole Punch
Drip irrigation is an efficient watering method that delivers water directly to plant roots, minimizing waste and promoting healthy growth. This system is ideal for gardens, flower beds, and even container plants. Installing a drip irrigation system can save time, conserve water, and ensure your plants receive consistent moisture. In this guide, we’ll walk you through the process of installing your own drip irrigation system, from planning to maintenance.
Understanding Drip Irrigation Systems
Drip irrigation systems provide a targeted approach to watering plants. Before diving into the installation process, it’s essential to understand the components and advantages of these systems.
Benefits of Drip Irrigation
Drip irrigation offers several advantages for both plants and gardeners:
- Cost-efficiency:Lower water bills and reduced plant loss offset initial installation costs.
- Improved plant health: Direct root watering reduces fungal diseases and weed growth.
- Time-savings: Once installed, the system operates automatically with minimal oversight.
- Versatility: Suitable for various landscapes, from small gardens to large orchards.
- Water conservation: Drip systems allow plants to effectively absorb 90% of the applied water, while traditional watering methods only have a 65% to 75% absorption.
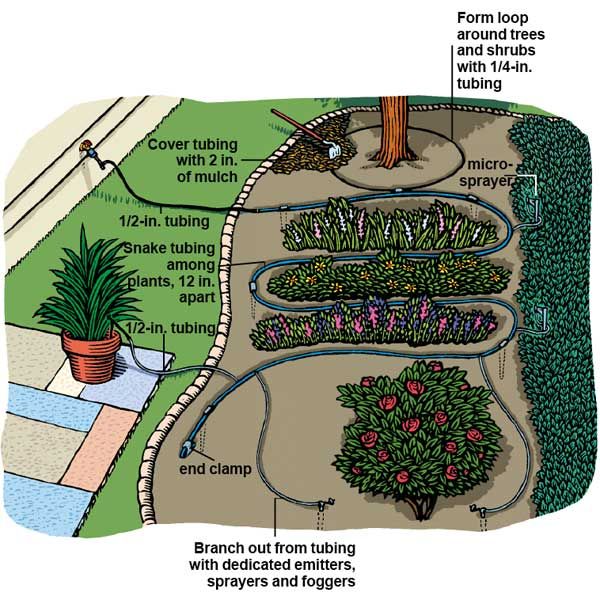
Components of a Drip Irrigation System
A typical drip irrigation system consists of the following parts:
- Backflow preventer: Prevents contamination of the water supply.
- Connectors and fittings: Join tubing sections and attach emitters.
- Filter: Removes debris to prevent clogging.
- Emitters: Release water at a controlled rate near plant roots.
- End caps: Seal the ends of tubing lines.
- Pressure regulator: Maintains consistent water pressure throughout the system.
- Main tubing: Carries water from the source to the plants.
- Micro-sprayers: Provide broader coverage for ground cover plants.
We recommend referring to the diagram below for tips on arranging your system.
Planning Your Drip Irrigation Layout
Proper planning of your home’s drip irrigating system involves mapping your garden and calculating water needs to ensure optimal coverage and performance.
Mapping Your Garden
To create an effective layout:
- Sketch your garden, including all plants, beds, and hardscaping.
- Group plants with similar watering needs.
- Identify the nearest water source.
- Plan the main line route and emitter locations.
- Consider future garden expansions in your design.
Calculating Water Needs
To provide your system with adequate water:
- Research the water requirements for each plant type.
- Consider factors like soil type, sun exposure, and climate.
- Calculate the total water flow needed for your garden.
- Choose emitters with appropriate flow rates for each plant.
Gathering Tools and Materials for Your Drip Irrigation System
Before you begin installing your irrigation system, we recommend gathering the necessary tools and materials. Having everything on hand will streamline the process and prevent delays.
Essential Tools
Obtain the following tools:
- Pruning shears or pipe cutter
- Hole punch for tubing
- Measuring tape
- Shovel or trowel
- Hammer (for ground stakes)
Required Materials
Collect these materials based on your garden layout:
- Backflow preventer
- Connectors and fittings
- Emitters and micro-sprayers
- End caps
- Filter
- Ground stakes
- Main tubing (½-inch and ¼-inch)
- Pressure regulator
We recommend purchasing extra materials to account for potential errors or future expansions.
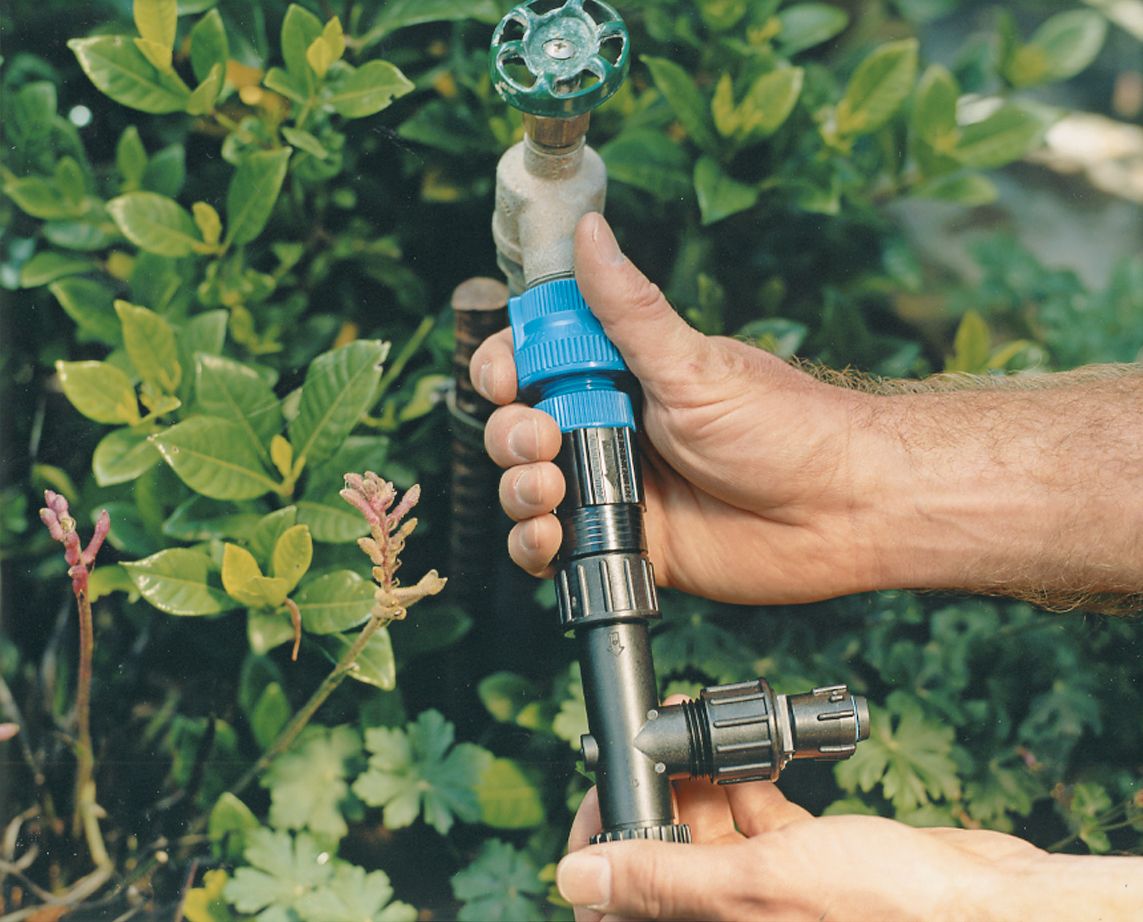
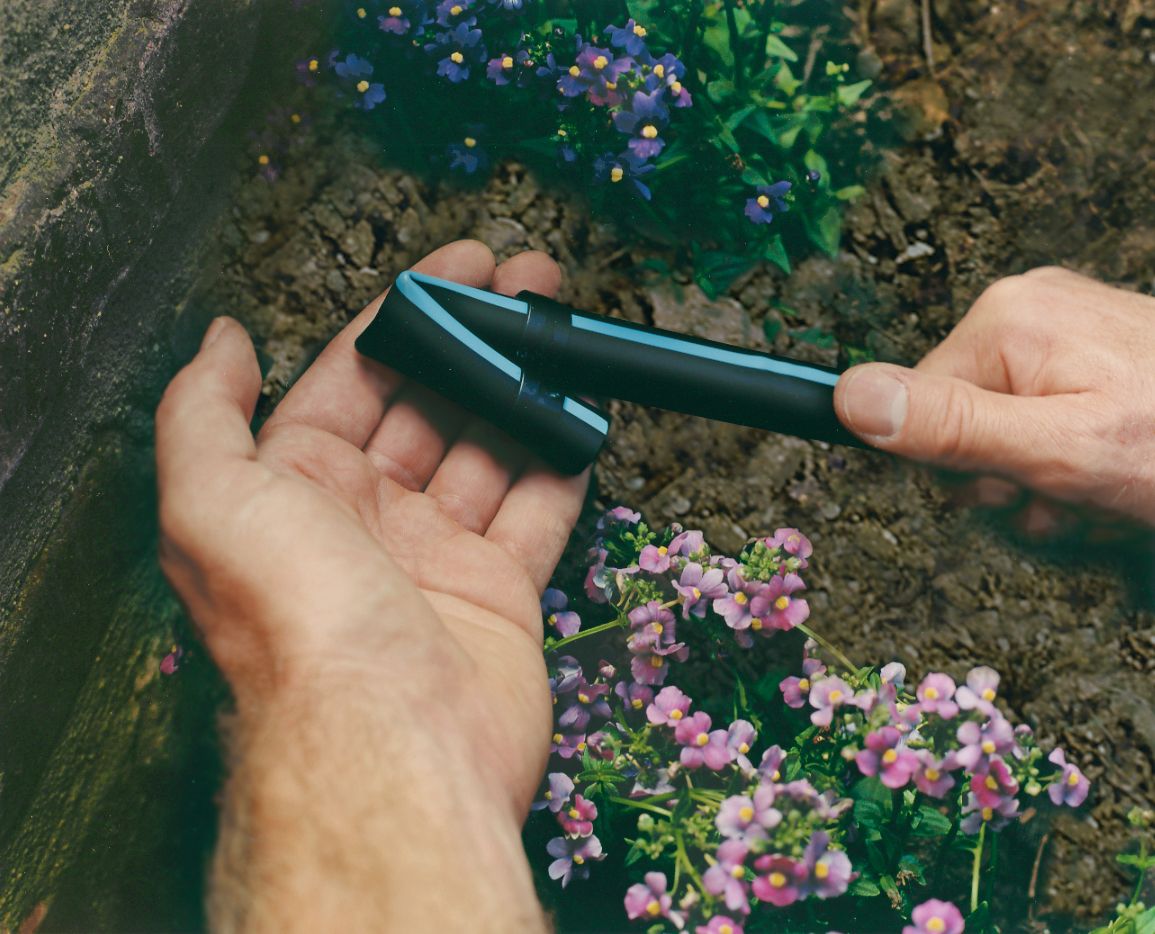
Connecting To Your Water Source
The first step in installing your drip irrigation system is connecting it to your water source. This process involves installing a backflow preventer and attaching the pressure regulator and filter.
Installing a Backflow Preventer
A backflow preventer stops contamination of your home’s water supply. To install:
- Locate your outdoor faucet or dedicated irrigation valve.
- Screw the backflow preventer onto the faucet or valve.
- Ensure a tight fit to prevent leaks.
Some regions require specific types of backflow preventers, so check local regulations before purchasing.
Attaching the Pressure Regulator and Filter
After the backflow preventer, install the pressure regulator and filter:
- Connect the pressure regulator to the backflow preventer.
- Attach the filter to the pressure regulator.
- Connect a hose swivel to the filter’s threaded opening.
 to his water source for his drip irrigation." />
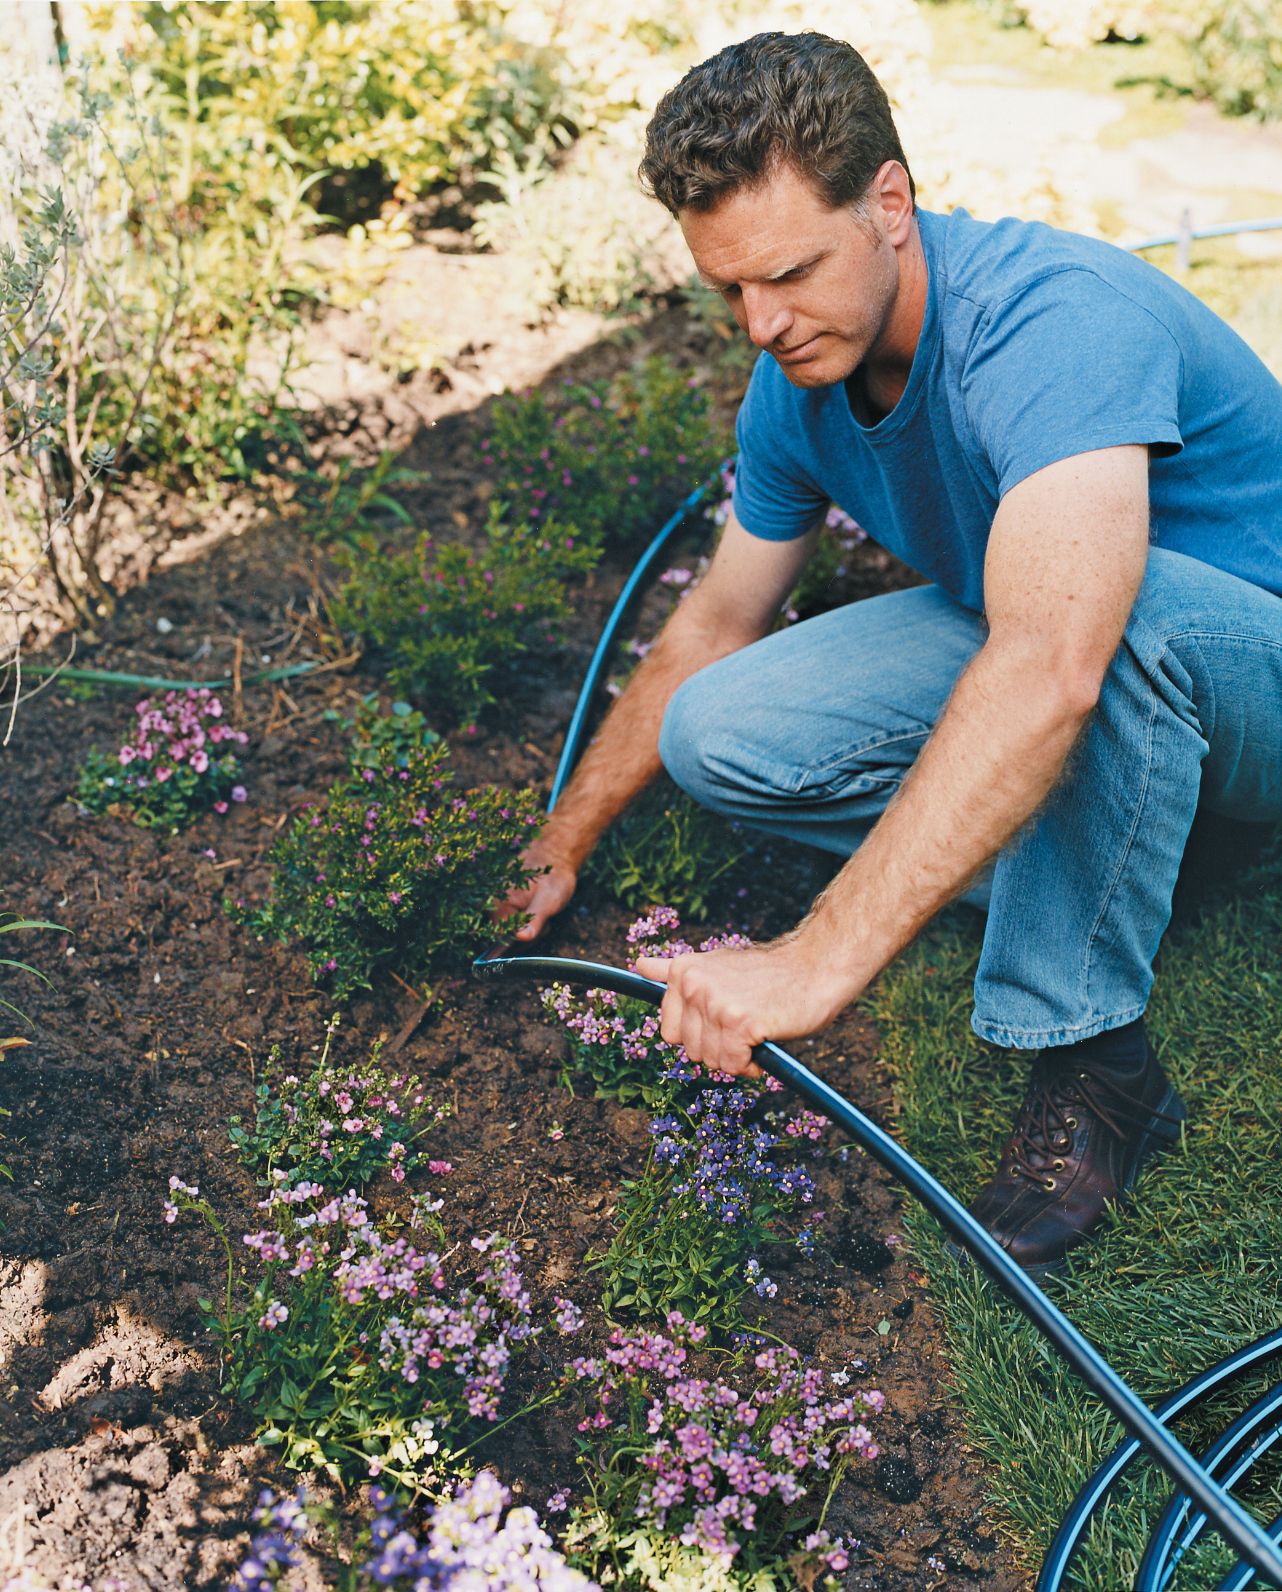
Laying Out the Main Tubing
With the water source connection complete, it’s time to lay out the main tubing that will distribute water throughout your garden.
Positioning the Main Line
To position the main line:
- Start at the water source and unroll the ½-inch tubing.
- Route the tubing along the planned path from your garden map.
- Leave some slack for expansion and contraction due to temperature changes.
- Use ground stakes every few feet to secure the tubing.
Avoid sharp bends that could restrict water flow or damage the tubing.
Using Connectors and Fittings
As you lay out the main line, you’ll need to use various connectors and fittings:
- Use elbow connectors for 90-degree turns.
- Install tee connectors where you want to branch off to different areas.
- Add end caps to any open ends of the main line.
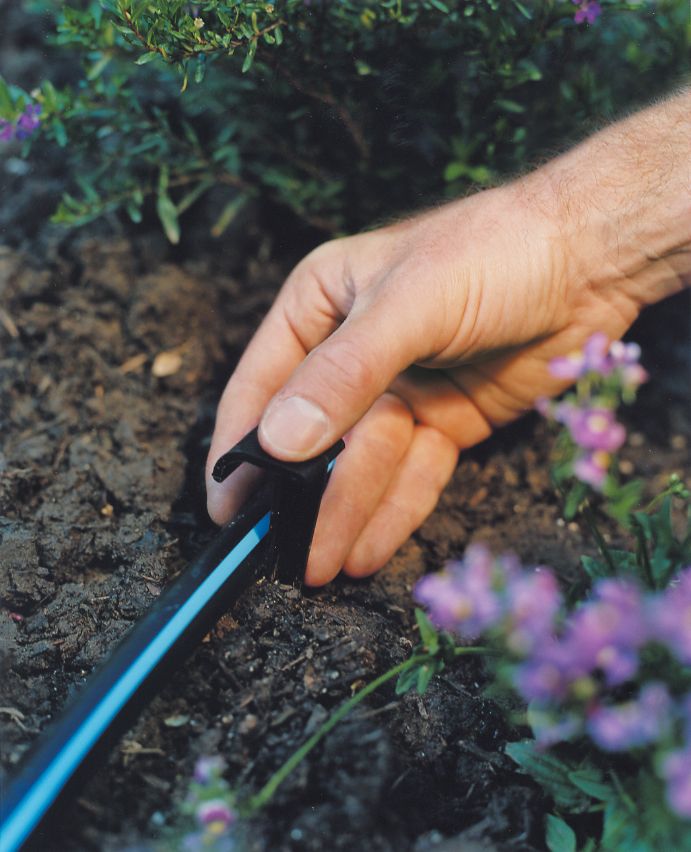
Installing Emitters and Micro-Sprayers
With the main line in place, you’re ready to install emitters and micro-sprayers, which will deliver water to your plants.
Placing Emitters for Individual Plants
For individual plants or small groups:
- Use a hole punch to create openings in the main line near each plant.
- Insert barbed emitters into these holes.
- Position emitters 6-12 inches from plant stems.
- Use multiple emitters for larger plants or trees.
Choose emitter flow rates based on plant water needs and soil type.
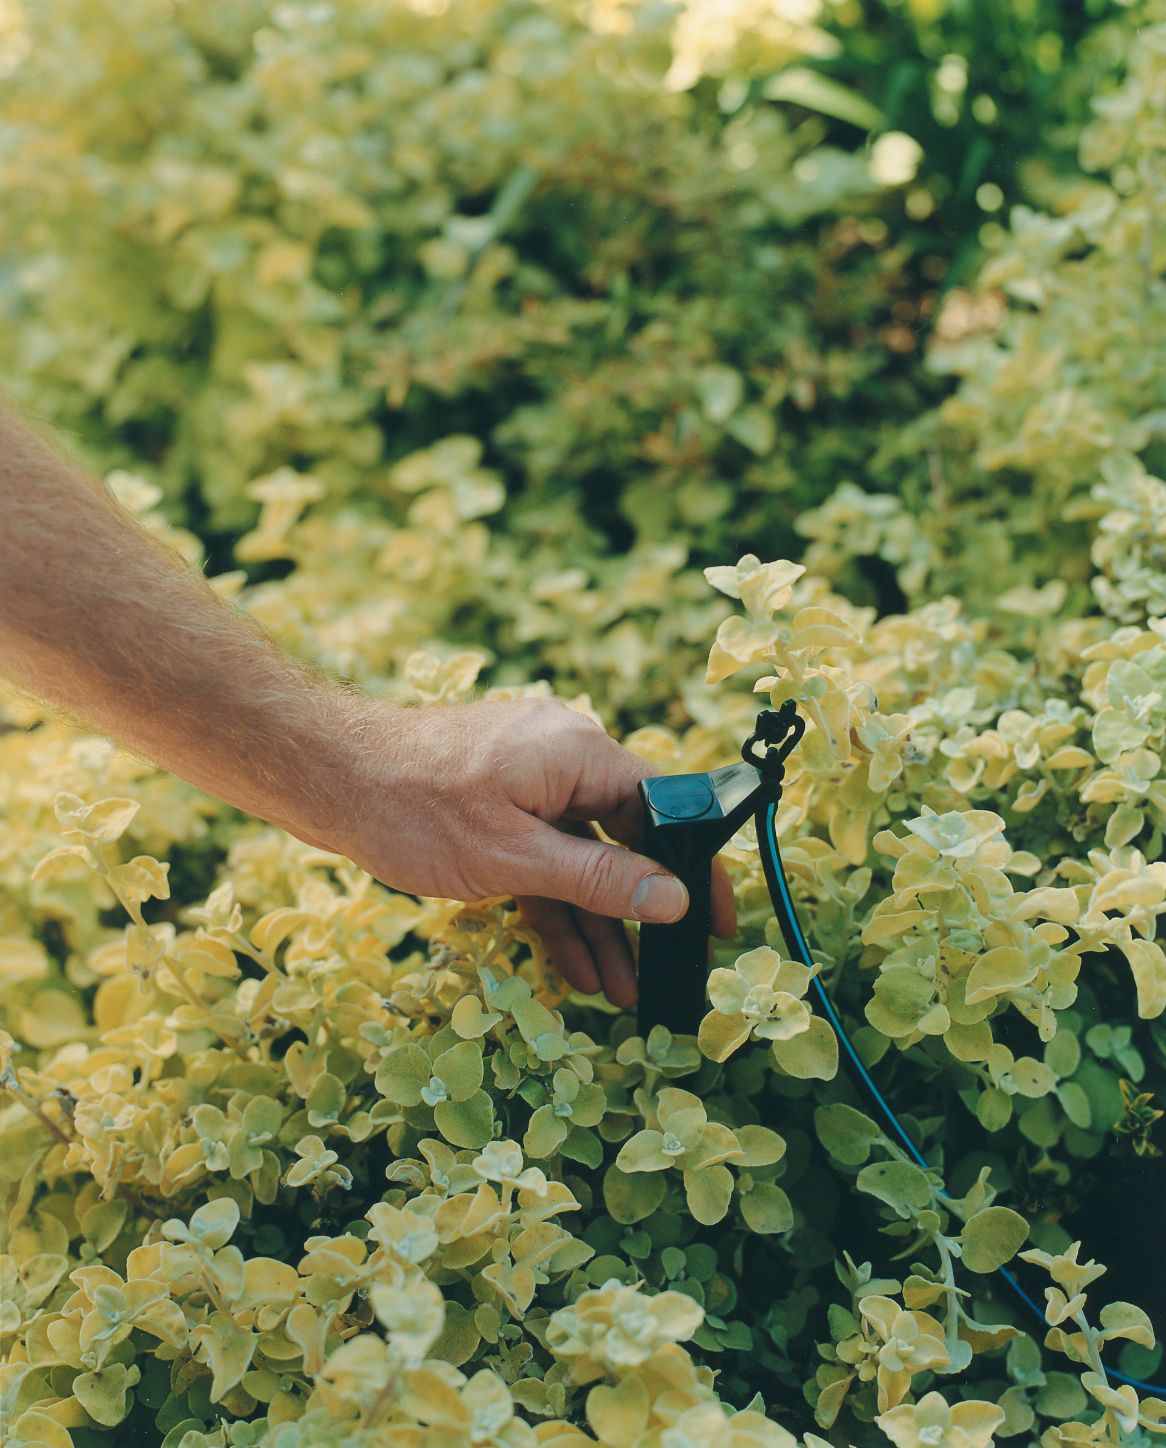
Setting Up Micro-Sprayers for Ground Cover
For areas with dense plantlife or ground cover:
- Attach ¼-inch tubing to the main line using a tee connector.
- Run the smaller tubing to the area needing coverage.
- Connect micro-sprayers to the end of the ¼-inch tubing.
- Use stakes to position sprayers at the appropriate height.
Securing and Fine-Tuning Your Drip Irrigation System
Once all components are in place, it’s time to secure the system and make final adjustments for optimal performance.
Using Ground Stakes
Properly secure your system to prevent damage:
- Place stakes every 2–3 feet along straight runs of tubing.
- Use additional stakes near fittings and emitters.
- Press stakes down firmly to embed them in the soil.
Be careful not to puncture the tubing when installing stakes.
Adjusting Water Flow
Fine-tune your system to provide the right amount of water:
- Turn on the water and observe the flow from each emitter and sprayer.
- Adjust individual emitter flow rates if needed.
- Reposition sprayers for better coverage.
- Check for leaks and tighten connections as necessary.
You may need to adjust the water flow as your plants grow or the seasons change.
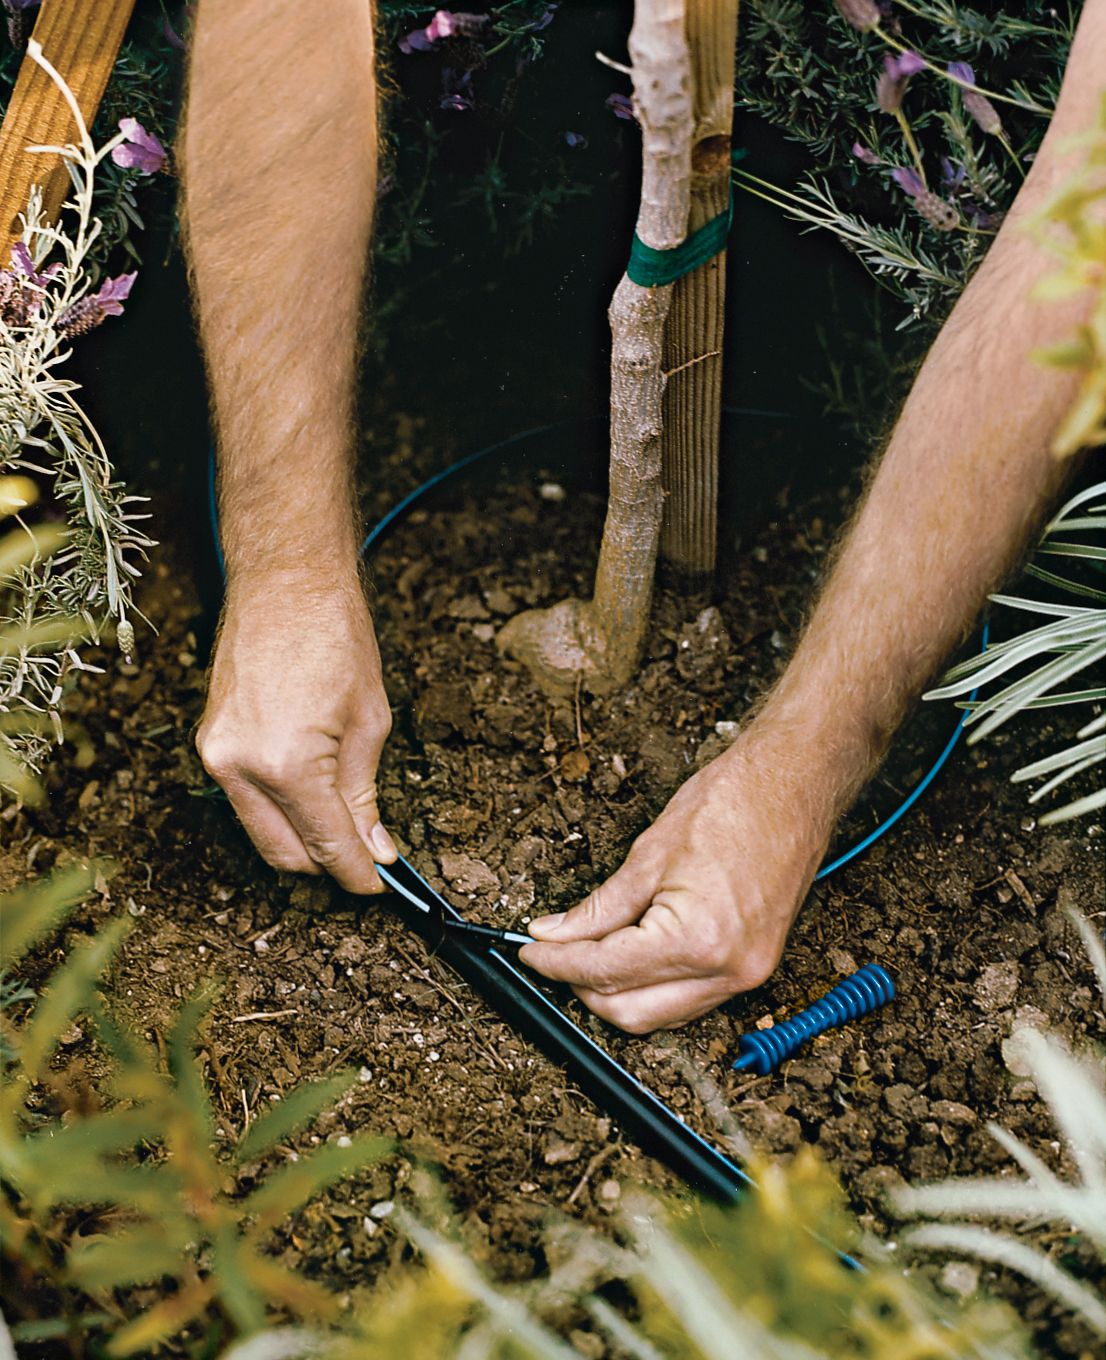
Watering Trees and Shrubs
Trees and shrubs often require special consideration in drip irrigation systems due to their larger size and deeper root systems.
Creating Emitter Loops
For effective tree and shrub watering:
- Create a loop of ¼-inch tubing around the tree’s drip line.
- Connect the loop to the main line using a tee fitting.
- Install multiple emitters along the loop.
- Space emitters evenly to provide consistent moisture.
This method ensures water reaches the entire root zone.
Customizing for Different Plant Sizes
Adjust your approach based on plant size:
- Use more emitters or higher flow rates for larger trees.
- Create smaller loops for shrubs or young trees.
- Increase the loop size as plants grow.
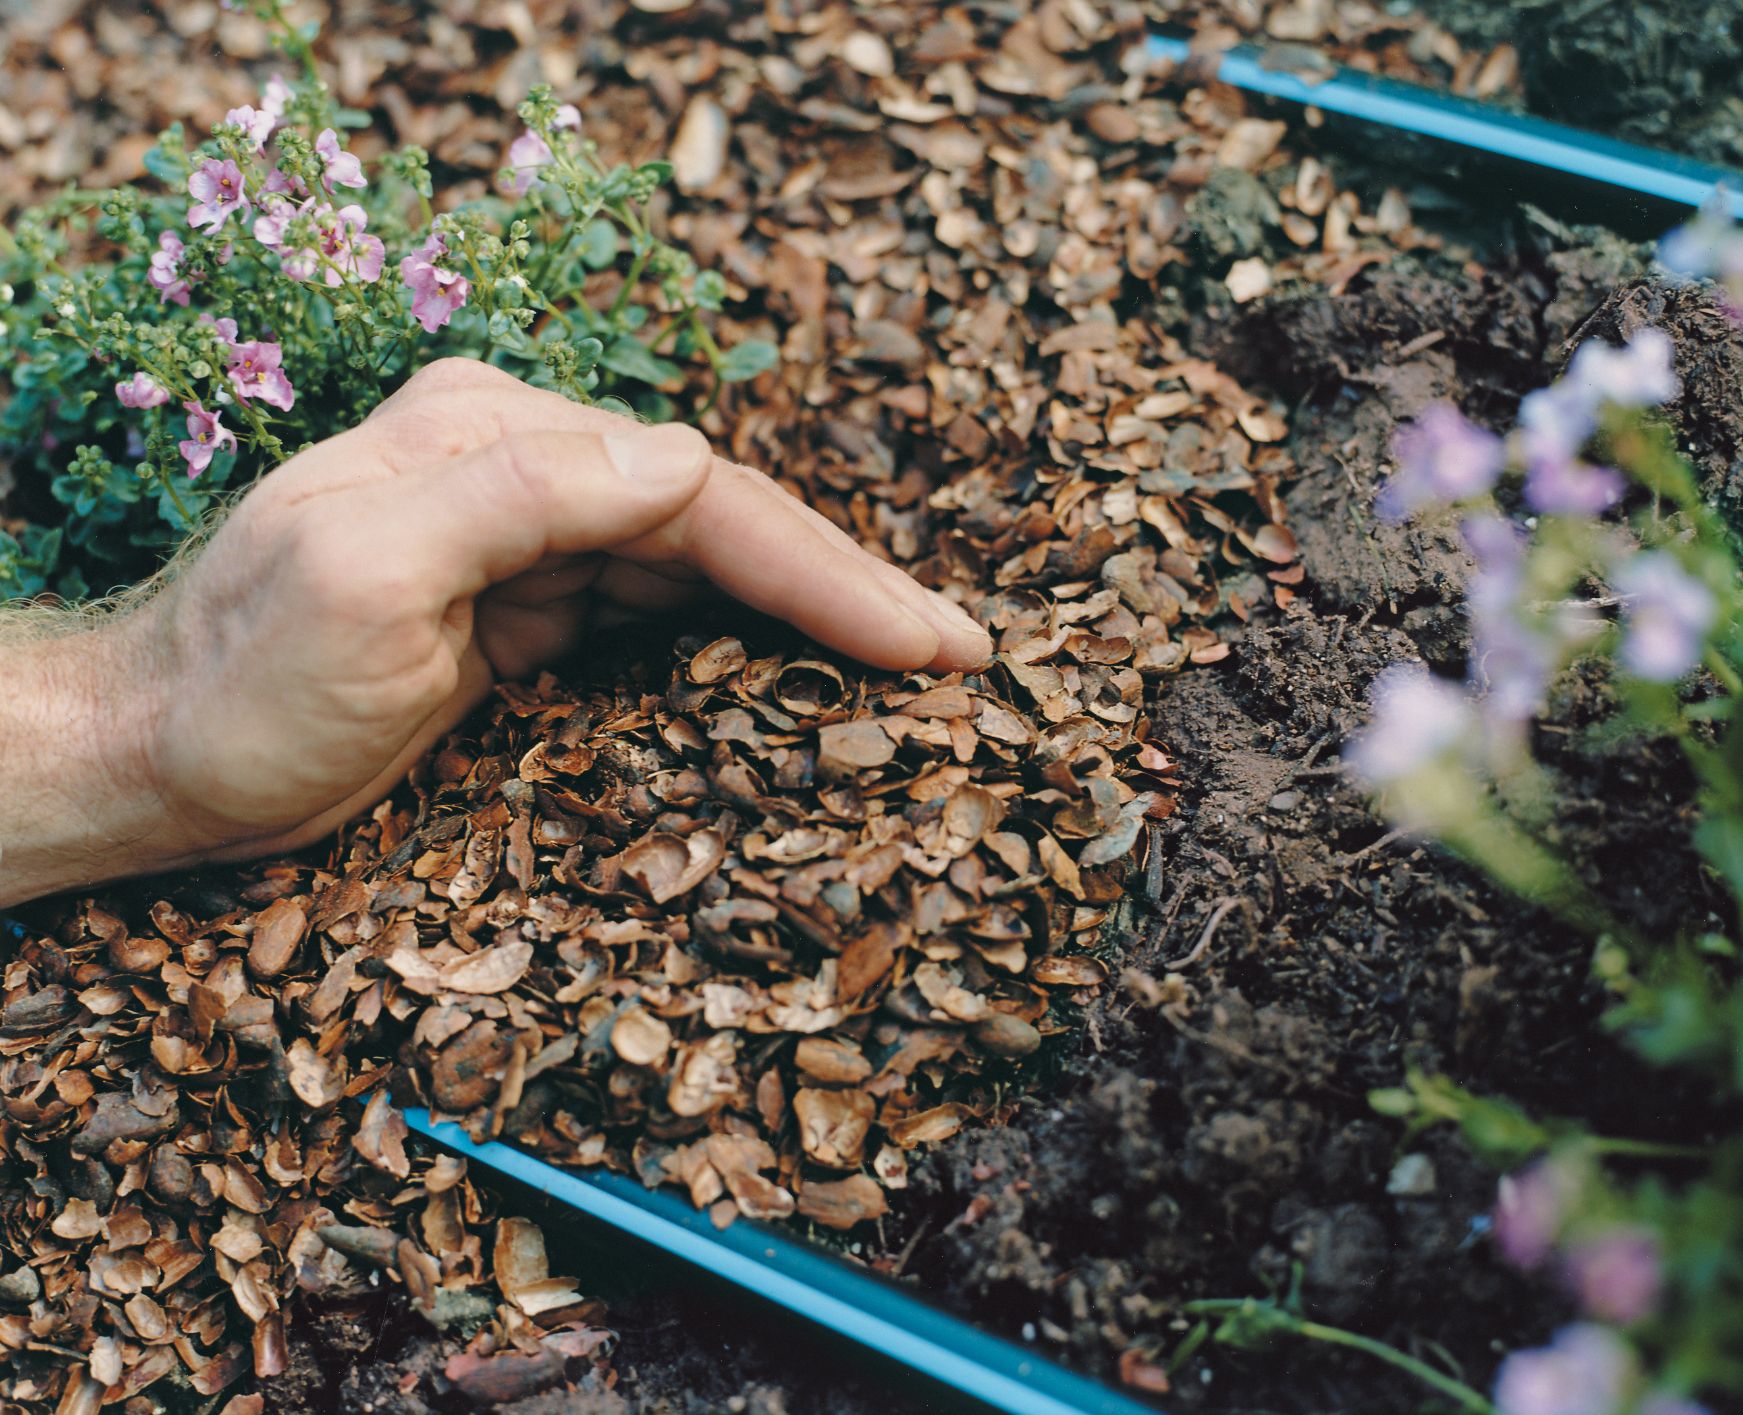
Finishing Touches
Before your installation is complete, be sure to take the following steps to clean and seal your system.
Flushing the System
Flushing removes any debris that may have entered during installation:
- Remove end caps from all lines.
- Turn on the water and let it run for several minutes.
- Check for any remaining debris or obstructions.
- Turn off the water once the lines run clear.
Regular flushing helps maintain system efficiency and prevent clogs.
Sealing Tubing Ends
Properly sealed ends prevent water loss and keep out contaminants:
- Cut tubing ends straight across.
- Fold the end of the tubing over itself.
- Secure the fold with an end clamp or figure-8 fitting.
- Check for leaks when you next run the system.
Seal all ends, including any unused ports on fittings.
Maintaining Your Drip Irrigation System
Regular maintenance keeps your drip irrigation system functioning efficiently and extends its lifespan.
Regular Inspection Tips
Perform these checks monthly during the growing season:
- Walk the system and look for damaged tubing or fittings.
- Check for clogged emitters or sprayers.
- Ensure plants haven’t grown over or displaced components.
- Verify that water pressure is consistent throughout the system.
- Adjust emitter placement as plants grow.
Prompt repairs and adjustments prevent water waste and plant stress.
Winterizing Your System
In colder climates, protect your system from freeze damage:
- Turn off the water supply and cap the system inlet.
- Remove the filter and drain it completely.
- Open all drain valves and remove end caps to drain lines.
- Use compressed air to blow out any remaining water.
- Insulate above-ground components.
Troubleshooting Common Issues with Drip Irrigation
Even well-maintained systems can experience problems. Knowing how to address common issues keeps your garden thriving.
Dealing with Clogs
To clear clogged emitters or sprayers:
- Remove the emitter or sprayer from the tubing.
- Soak in vinegar solution to dissolve mineral buildup.
- Use a fine wire to clear any remaining debris.
- Flush with clean water before reinstalling.
Regular system flushing helps prevent clogs from forming.
Fixing Leaks and Breaks
To repair leaks or breaks in tubing:
- Cut out the damaged section using pruning shears.
- Insert a coupler fitting into both ends of the cut tubing.
- Ensure connections are tight and secure.
- Run the system to check for any remaining leaks.
Keep repair fittings on hand for quick fixes when needed.
Drip Irrigation Installation: Our Conclusion
Installing a drip irrigation system is a rewarding project that can significantly improve your garden’s health while conserving water and saving time. By following this guide, you can create an efficient, customized watering solution for your landscape.
Remember that your drip irrigation system may require occasional adjustments as your garden grows and changes. Regular maintenance and prompt troubleshooting will keep your system functioning at peak performance and provide your plants with the watering they need to thrive. With your new system in place, you can enjoy a lush, vibrant garden with less effort and reduced water consumption.
Next Up In Landscaping
- How To Build a Wire Trellis
- How to Transition A Landscape From Spring to Summer
- Celebrating Atlanta Landscapers
- Understanding Goat Grazing
- How to Firescape a Yard
- How to Manage Invasive Plants
